How to Upgrade Your Computer Motherboard
Learn how to upgrade your computer mother board with our step-by-step guide. Boost your PC’s performance and extend its lifespan through this essential hardware.

How to Upgrade Your Computer Motherboard: Upgrading your computer’s motherboard can improve performance and extend its lifespan. This guide will show you how to do it, from getting ready to setting up the new parts. It’s great for adding the latest tech or just making your computer faster. You’ll learn everything you need to know to successfully upgrade your motherboard.
Best iPhone 17 Cases Under $50 (Budget Picks That Protect)
Key Takeaways
- Upgrading your motherboard can significantly improve your computer’s performance and longevity.
- Careful planning and preparation are key to a successful motherboard upgrade.
- Deactivating software, updating drivers, and adjusting BIOS settings are critical steps in the upgrade process.
- Proper installation of the new motherboard, CPU, and RAM is essential for a smooth transition.
- Optimizing your system and reactivating applications can help you get the most out of your upgraded hardware.
Reasons to Upgrade Your Motherboard
Upgrading your computer’s motherboard can bring many benefits. You can enjoy better performance and support for the latest hardware. A new motherboard means faster processors, more memory, and better connectivity. This can greatly improve your system’s performance.
It also makes sure your computer works well with new hardware. This future-proofs your system and helps it last longer.
Improved Performance
Switching to a newer CPU can make a big difference. Going from an older processor to a newer one can really boost performance. Newer RAM types like DDR4 and DDR5 need a compatible motherboard. Upgrading from DDR3 can also significantly improve your system’s speed.
For better gaming, upgrading the motherboard with a faster CPU is key. This is especially true when GPUs are hard to find or expensive. Upgrading to support faster data transfer speeds is also beneficial. This can make your system much faster.
Support for Latest Components
Upgrading your motherboard can be necessary if it’s damaged. This can be one of the most expensive upgrades for your PC. Newer motherboards offer features like M.2 SSD support and Thunderbolt 3 connectivity.
When upgrading, make sure the motherboard is compatible with your CPU and BIOS. This ensures your new hardware works smoothly. It’s also important to choose RAM that matches your motherboard’s specs to avoid problems. Make sure your system isn’t bottlenecked by other components during the upgrade.
| Reason for Motherboard Upgrade | Percentage of Users |
|---|---|
| Physical Damage | 30% |
| Compatibility Issues with New Processors | 45% |
| Accommodating New RAM Modules | Over 60% |
| Insufficient RAM Slots | 25% |
| More PCIe Slots for Better Connectivity | 15% |
| Upgrading to a New PCIe Generation | Up to 40% |
| Overclocking Compatibility | 20% |
| SLI Support | 10% |
| New Graphical Card Support | Up to 50% |
| Data Transmission Inefficiencies | Around 5% |
| Lagging System Performance | Over 40% |
| Hardware Component Recognition Issues | 7% |
| Processor Performance Improvement | 60% |
| Faster RAM Module Support | Around 50% |
| Better GPU Support | Up to 70% |
| Replacing Damaged Motherboards | 20% |
Prerequisites for Motherboard Upgrade
Before you start upgrading your computer’s motherboard, make sure you’re ready. First, back up your important data. This step protects your files and info, reducing the chance of losing them during the swap. Also, collect all your software registration keys. This makes it easy to get your software working again after the upgrade.
Backup Important Data
Upgrading your motherboard might require reinstalling your operating system. This could cause data loss if you’re not careful. Make sure you have a full backup of your files, documents, and personal data. You can use an external hard drive, cloud storage, or a backup solution. This step keeps your important info safe during the upgrade.
Gather Registration Keys
It’s also key to gather your software registration keys. This includes any software you use for work, gaming, or special tasks. Having these keys ready lets you quickly get your software working again after the upgrade. This avoids any problems with your work or gaming.
By preparing well for the motherboard upgrade, you can make the transition smooth. This includes backing up your data and gathering software keys.
Preparing for the Motherboard Swap
Before you start replacing your computer’s motherboard, make sure you’re ready. First, deactivate any software applications previously installed on your system. This step prevents any problems with the new motherboard. Also, ensure your drivers and BIOS are up to date to avoid compatibility issues with the new hardware.
Deactivate Activated Applications
Review your installed software and deactivate any programs that need a license or key. This avoids reactivation problems later. Make sure to gather and record all necessary registration keys and software licenses before you swap the motherboard.
Update Drivers and BIOS
Updating your drivers and BIOS is also key. This includes the chipset, graphics, and sound card drivers, as well as the latest BIOS version. Updating these components ensures a smooth transition to the new hardware and prevents compatibility problems. Research and download the necessary updates before starting the swap.
By taking these steps, you’re ready for a successful motherboard swap. Next, we’ll cover the physical process of removing the old motherboard and installing the new one.
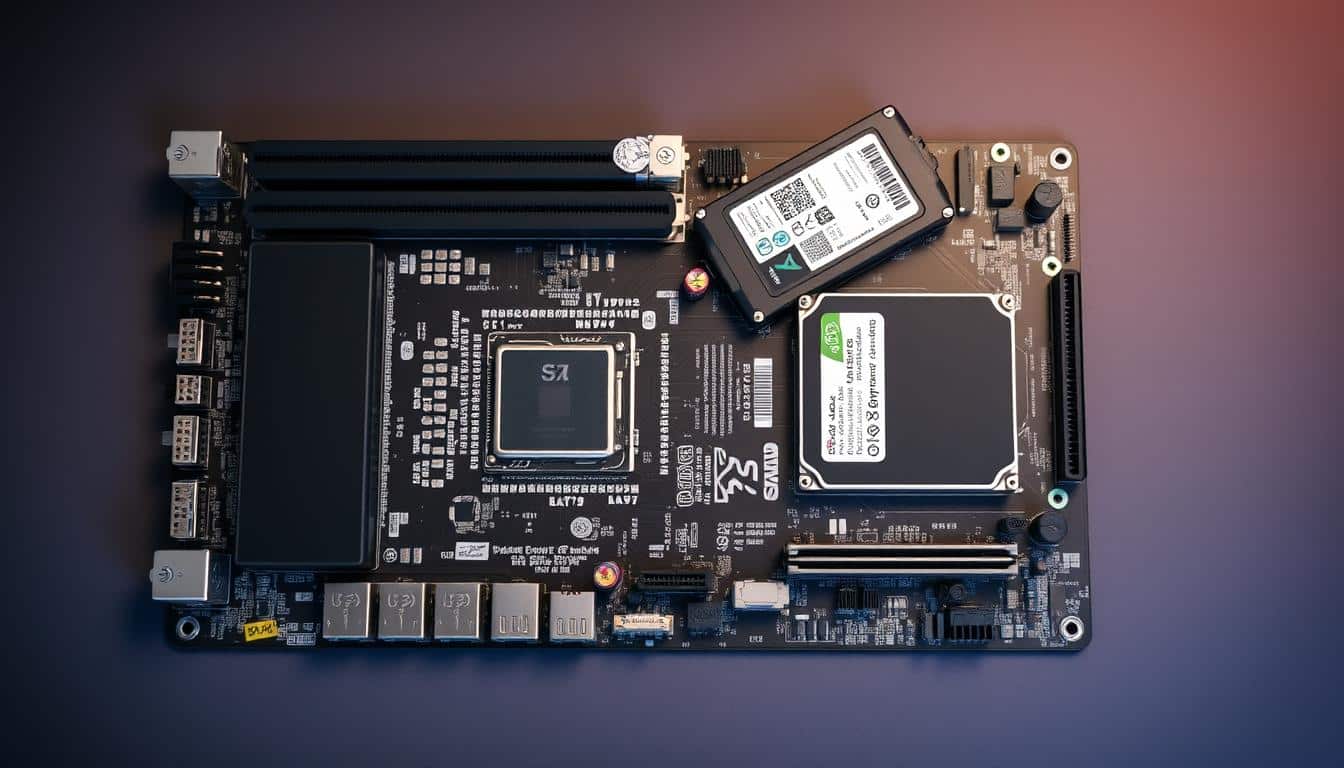
Checking Storage Settings
When you upgrade your computer’s motherboard, checking your storage setup is key for a smooth change. Many people don’t want to start over with a new Windows 10 install. So, it’s important to make sure your storage works with the new motherboard.
First, check your disk interface settings, such as SATA or M.2, and make sure they match the new motherboard’s chipset. If you have a RAID setup, it is better to revert to a single drive for now. This helps avoid problems when you first start up with the new hardware.
| Storage Configuration | RAID Setup | Disk Interface Settings |
|---|---|---|
| Ensure compatibility with the new motherboard | Consider reverting to a single-volume setup | Verify compatibility with the new motherboard chipset |
Reviewing your storage settings before the upgrade can save you from trouble. It makes sure your system works well with the new hardware. This careful planning helps keep your computer running smoothly.
“Upgrading your motherboard can be a daunting task, but with the right preparation, it can be a rewarding experience that breathes new life into your computer.”
For a successful motherboard upgrade, prepare well and fix any compatibility issues. This way, you can enjoy the upgrade without any problems.
How to upgrade a computer motherboard
Upgrading your computer’s motherboard can seem scary, but it’s easier than you think. This guide will help you through the process. Whether you want better performance or the latest tech, we’ve got you covered.
First, make sure you have everything you need. This includes a new motherboard, CPU, RAM, and any other parts you’re keeping.
- Disconnect all cables and remove any expansion cards from the current motherboard.
- Remove the screws securing the old motherboard and carefully lift it out of the case.
- If you’re reusing the CPU and/or memory, you’ll need to transfer them to the new motherboard.
- Install the new motherboard, ensuring it’s properly aligned and secured with the necessary screws.
- Reconnect all cables and components according to the manufacturer’s instructions.
- Configure the BIOS settings to ensure compatibility with the new hardware.
- Reinstall your operating system and any necessary drivers.
- Reactivate any software or applications that were deactivated during the upgrade process.
Upgrading your motherboard needs careful planning and attention to detail. With the right steps, you can make your computer faster and more powerful.
“Upgrading your motherboard can be a game-changer for your computer’s performance. It’s a project that requires some technical know-how, but the end result is well worth the effort.” – Nam, Director of Branding and Marketing at CyberPowerPC
Removing the Old Motherboard
The first step in upgrading your computer is to remove the old motherboard. Start by disconnecting cables from the current motherboard. This includes power, data, and front panel connectors. It’s safer to leave the power cord plugged in to avoid static electricity.
After disconnecting cables, find and remove the screws that hold the motherboard in place. You’ll need a Phillips-head and a small flat-head screwdriver for this. Once the screws are out, lift the motherboard carefully to avoid damage.
“The process for correctly installing a new motherboard is deemed rather easy and straightforward.”
Be careful when removing the motherboard. Mistakes can cause problems like the Blue Screen of Death. By following these steps, you can smoothly switch to your new motherboard and avoid expensive repairs.
Installing the New Motherboard
Upgrading to a new motherboard requires careful installation. Before putting the motherboard in the case, check the standoffs and the I/O plate. Not all cases have removable trays, so installation methods differ. Ground yourself to avoid damaging components due to static electricity.
The I/O plate is key and must be swapped out. Most cases come with a default I/O panel shield. This needs to be replaced with the new motherboard’s panel. Make sure the new I/O plate fits well and aligns with the case’s rear panel.
Standoffs are vital for the installation. Cases and motherboards have different hole patterns for standoffs. These are needed to hold the motherboard in place. Standoffs are usually screwed in, but some are pushed in like pegs. It’s important to match the standoffs with the motherboard holes, without using extra ones.
Installing the CPU, CPU cooler, RAM, and other parts before the motherboard makes things easier. Proper wiring is key to avoiding heat and cable mess. Connect front panel switches, USB ports, fans, and drives to the right motherboard connectors for smooth operation. Installing components in the right order, like the video card last, saves space and makes access easier.
By carefully preparing and installing the new motherboard, you’re on your way to a successful upgrade.
Best iPhone 17 Cases Under $50 (Budget Picks That Protect)
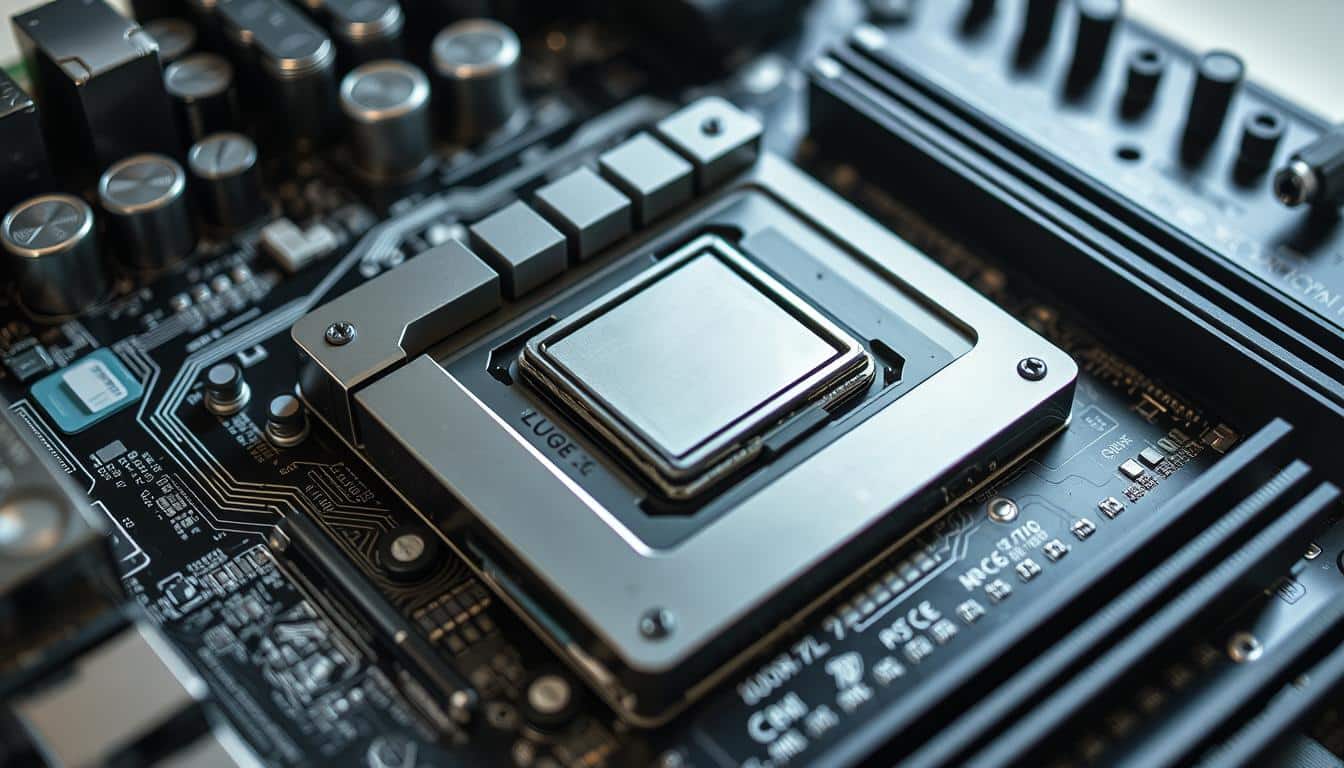
CPU and RAM Installation
Upgrading your computer’s hardware starts with installing the CPU and RAM correctly. If you’re using your old CPU, you must carefully move it to the new motherboard.
Start by removing the CPU from the old motherboard. Be very careful not to bend the pins. Next, put the CPU into the new motherboard’s socket. Make sure it’s aligned right. After that, attach the CPU cooler as the maker suggests.
Then, put the RAM into the new motherboard’s slots. Ensure the RAM is securely in place, and the clips hold it tight.
- Remove the CPU from the old motherboard carefully to avoid bending the pins.
- Place the CPU into the new motherboard’s socket and attach the CPU cooler.
- Put the RAM into the new motherboard’s slots, making sure they fit right.
By following these steps, you can smoothly migrate your CPU and RAM to the new motherboard.
“Proper CPU and RAM installation is crucial for a successful hardware upgrade. Careful handling and meticulous attention to detail are essential for a seamless transition to the new motherboard.”
For a successful CPU and RAM installation, be cautious and follow the manufacturer’s instructions. Make sure everything is securely in place. With the right steps, you can boost your computer’s performance.
Connecting Peripherals and Cables
Now that the motherboard, CPU, and RAM are in, it’s time to connect everything. Cable management is key to a clean and organized hardware setup. Begin by putting any expansion cards, such as graphics or sound cards, back in. Make sure they fit well in their PCIe slots.
Then, plug in the power supply cables to the right spots on the motherboard and devices. It’s important to connect cables correctly to avoid startup issues. Use a power supply tester or multimeter to check the PSU’s work before plugging it in.
- Put the monitor, keyboard, and mouse back into their ports on the motherboard’s I/O panel.
- Make sure front panel switches, USB ports, and fans are connected to the right headers on the motherboard.
- Plug SATA hard drives and optical drives into the right SATA ports on the motherboard.
Good cable management helps keep your computer cool and running smoothly. Organize cables neatly to avoid tangles or blockages. The video card is usually the last thing to install, due to its size and complexity.
“Maintaining a tidy and organized hardware setup is essential for the long-term health and performance of your computer.”
By carefully connecting all cables and peripherals, your system will be ready for its first start and BIOS setup.
First Boot and BIOS Configuration
After setting up your computer’s hardware, it’s time to turn it on for the first system boot. You might need to enter the BIOS (Basic Input/Output System) to set up the boot order and other settings. This is important for your hardware configuration.
Most motherboards can automatically find and use installation media. But you might need to help in some cases. To access the boot drive selection menu, press different keys, such as F8 for Asus, F11 for ASRock and MSI, and F12 for Gigabyte.
Asus and ASRock have a simple BIOS interface to change the boot order. MSI uses icons above the EZ Menu’s main section. Most boards also offer an Advanced mode GUI for more features under the Boot tab.
To change disk transfer modes, go to the Advanced interface. This is under the SATA submenu for Asus, the Storage Configuration submenu for ASRock, and the Integrated Peripherals submenu for MSI. You can choose SATA mode to use modern SATA features, IDE for legacy support, or RAID for RAID setup.
Updating the BIOS/UEFI firmware might be needed to enable better memory support or to support CPU upgrades. ASRock users can use F6 to access the Instant Flash interface for updates. MSI users can try Ctrl-F5 during startup.
Make sure all components are recognized by the BIOS before moving on. After setting up the BIOS, you can start the next part of the motherboard upgrade. This guide helps make the process smoother and ensures a good upgrade.

Windows 10 and Windows 11 are the top operating systems. It’s best to install the operating system from a USB drive. Keeping drivers up to date is key to system health.
Antivirus and antispyware software should scan your PC regularly. Installing games on a separate drive from the OS saves space and protects game saves. Backing up important files is essential, using an external SSD or cloud storage.
Adding features like RGB lighting can make your PC more enjoyable. Kingston offers PCIe 4.0 NVMe M.2 SSDs with read and write speeds up to 7,300MB/s and 7,000MB/s, respectively. Kingston FURY RAM is fast, Intel XMP-certified, and features customizable RGB lighting.
“Upgrading your motherboard can unlock a whole new level of system performance and capabilities. By following this guide, you’ll be able to navigate the process with confidence and ensure a successful upgrade.”
Reinstalling the Operating System
When you upgrade your computer’s motherboard, a clean install of your operating system is often recommended. This ensures all drivers and system files are set up correctly for the new hardware. While you might not always need to do this, it’s usually best to start fresh. This helps avoid any compatibility or performance issues.
The process of reinstalling the operating system might seem scary, but it’s actually quite simple. You just need to have your Windows setup media ready. This could be a USB drive or a DVD. Then, just follow the on-screen instructions to start the Windows setup.
- Make sure you have all the product keys or digital licenses for any software you plan to reinstall.
- Save any important data, like documents, photos, and personal files, to an external device or cloud storage.
- Learn about the installation process and any special steps you might need for your system.
After the operating system is reinstalled, you’ll need to reactivate any licensed software and restore your personal data. The steps for this can vary, so be ready to follow the right ones for your setup.
Even though a clean install takes time, it’s usually the best choice. It helps ensure a smooth transition to your new motherboard and boosts your system’s performance. By following the right steps and being prepared, you can make the reinstallation of the operating system smooth.
“Upgrading your motherboard is a big change, and a clean install of your operating system is the best way to ensure everything is properly configured and optimized for the new hardware.”
Reactivating Applications
After upgrading your computer’s motherboard and CPU, you’ll need to reactivate any software that requires a registration key or license. This process is crucial for ensuring your applications continue to function properly after the hardware.
Refer to the list of registration keys you gathered earlier, then follow the prompts to reactivate your productivity suites, creative software, and any other programs previously installed on your system. This step is essential for software reactivation and maintaining access to your application setup.
While the process may seem daunting, it’s a necessary step to ensure your software is compatible with the new hardware configuration. By taking the time to reactivate your applications, you can avoid potential registration key issues and ensure a seamless transition to your upgraded computer.
| Software | Registration Key | Reactivation Status |
|---|---|---|
| Microsoft Office 365 | ABC123-DEF456-GHI789 | Pending |
| Adobe Creative Cloud | JKL012-MNO345-PQR678 | Completed |
| Autodesk AutoCAD | STU901-VWX234-YZ567 | Pending |
Remember, taking the time to properly reactivate your software can save you from potential headaches down the line. By following these steps, you can ensure your upgraded computer is ready to tackle all your computing needs with ease.
“Reactivating applications is a crucial step in the motherboard and CPU upgrade process. It ensures seamless continuity of your software usage and preserves your productivity.”
So, don’t skip this important task. Reactivate your software, reclaim your registration keys, and enjoy the benefits of your upgraded computer setup.
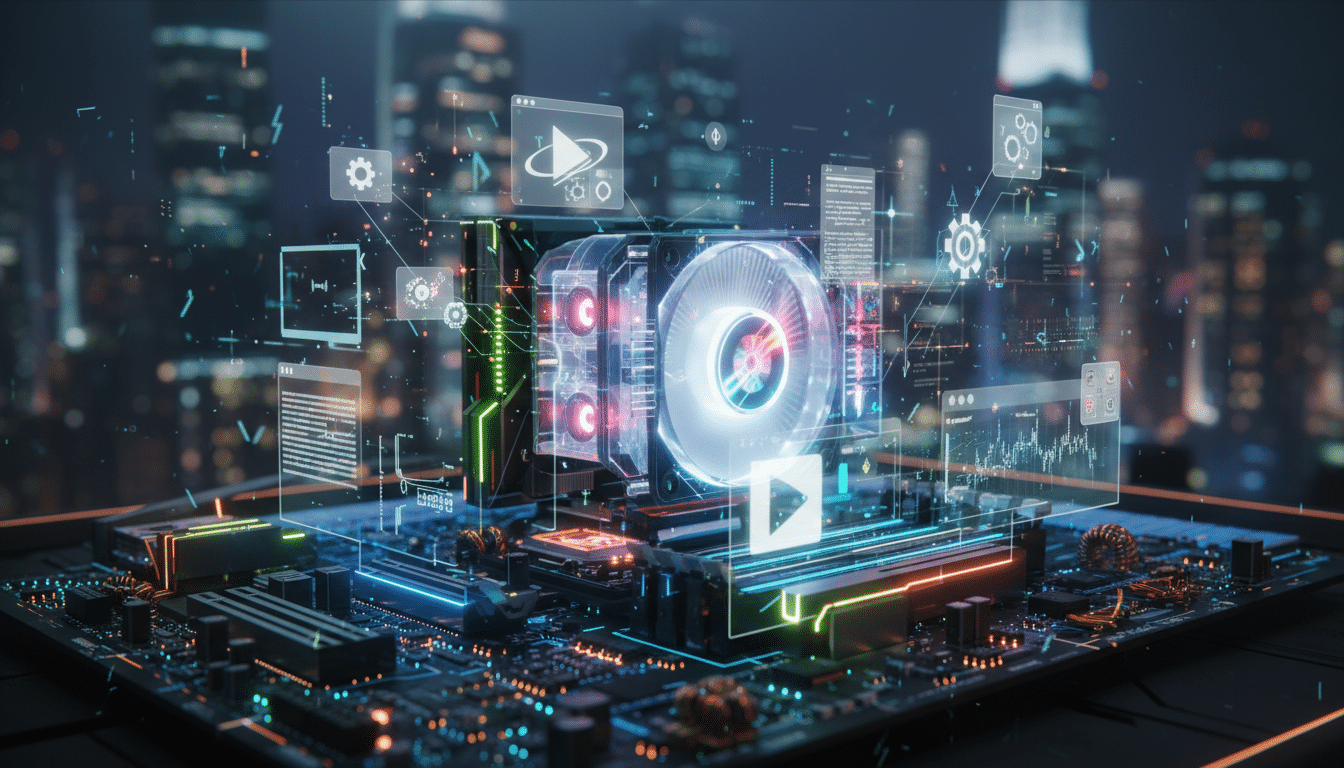
Optimization and Final Touches
Now that your motherboard is in and your OS and apps are ready, it’s time to optimize the system and make final tweaks. You might need to update drivers, adjust power settings, and tweak BIOS or OS settings. This ensures your computer is running at its best after the upgrade.
Make sure your storage is configured for optimal performance tuning. A solid-state drive (SSD) can make a big difference in how fast your computer loads and runs. Also, having the right amount and type of RAM can make your system much more responsive, especially for tasks like gaming or video editing.
It’s also important to keep your OS and drivers up to date. Updates can fix bugs, improve security, and add new features that boost your PC’s performance. Disabling unused startup programs can also help your system start up faster and run more smoothly.
If you’re up for it, overclocking can give your CPU a performance boost. But do it carefully and know what you’re doing to avoid problems or damage.
By optimizing your system, you’ll get the most out of your upgraded computer. You’ll enjoy a smooth and efficient computing experience.
Upgrade Your Computer Motherboard Conclusion
Upgrading your computer’s motherboard can greatly improve your system. By following this guide, you can replace your old motherboard with a new one. This will boost your computer’s performance, support more components, and make it last longer.
If you love computers or just want to make your old one better, this guide is for you. It shows you how to upgrade your motherboard step by step. You’ll learn how to use a testing device and check BIOS settings for a smooth upgrade.
After upgrading, your computer will feel like new again. It will have a new hard drive and motherboard. This upgrade will make your computer faster and keep it up to date with the latest tech for years.
Best iPhone 17 Cases Under $50 (Budget Picks That Protect)
How to Upgrade Your Computer Motherboard: FAQ
What are the benefits of upgrading my computer’s motherboard?
What should I do to prepare for a motherboard upgrade?
How do I properly install the new motherboard?
Do I need to reinstall my operating system after upgrading the motherboard?
How do I reactivate my software after the motherboard upgrade?
Source Links
-
- Upgrade Your Motherboard the Easy Way – https://www.pcworld.com/article/507765/how_to_upgrade_your_motherboard_the_easy_way.html
- How Upgrading Your Motherboard Can Transform Your PC – https://www.downtowncomputers.com/boost-your-pc-performance-how-upgrading-your-motherboard-can-transform-your-pc/
- How to Upgrade the CPU and Motherboard in Your Gaming PC – CyberPowerPC – https://www.cyberpowerpc.com/blog/how-to-upgrade-the-cpu-and-motherboard-in-your-gaming-pc/?srsltid=AfmBOoqGQVIzcuWMX89uJLb2JiHrhjj-LZyQoMkWb59qm9CQv_wumepP
- Learn How to Replace the Motherboard in Your Computer – https://www.lifewire.com/replace-a-motherboard-5189494
- Can I Upgrade My Motherboard and CPU Without Reinstalling Windows 10? [New Updated 2024] – https://www.easeus.com/computer-instruction/upgrade-motherboard-cpu-without-reinstalling-windows-10.html?srsltid=AfmBOoq_Ua5G5w6_NQpcchlpx51_mk_bukzCo4lnsFXh-Q8OT0lEj1AJ
- How to Choose a Motherboard – https://www.lenovo.com/us/en/glossary/how-to-choose-a-motherboard/?srsltid=AfmBOoqPk6FHV1mJADWIzVuvVFf5tWyMd2VIh-5euuTxVrBdoXXLw9fR
- Beginners Guides: Upgrading A Motherboard Without Reinstalling – https://www.pcstats.com/articles/1755/index.html
- How to Install a Motherboard: 15 Steps (with Pictures) – wikiHow – https://www.wikihow.com/Install-a-Motherboard
- Need help from PC build experts on pre-built PSU upgrade – https://forums.flightsimulator.com/t/need-help-from-pc-build-experts-on-pre-built-psu-upgrade/615511
- BIOS Basics: How to Configure Your PC’s Firmware for First Use – https://www.pcmag.com/how-to/bios-basics-how-to-configure-your-pcs-firmware-for-first-use
- What to Do AFTER Building Your PC – https://www.kingston.com/en/blog/gaming/set-up-after-pc-build
- Can I Upgrade My Motherboard and CPU Without Reinstalling Windows 10? [New Updated 2024] – https://www.easeus.com/computer-instruction/upgrade-motherboard-cpu-without-reinstalling-windows-10.html?srsltid=AfmBOop16pjlKmB-wtMNBU5MUci3gLcc3sjVNKQL1dBtC5Rh0LeFWiWj
- Can I Upgrade My Motherboard and CPU Without Reinstalling Windows 10? [New Updated 2024] – https://www.easeus.com/computer-instruction/upgrade-motherboard-cpu-without-reinstalling-windows-10.html?srsltid=AfmBOorClmePpuRXF8Vk2N2ReAf0d-3VRQCUo7LdQ0eePDkPxpsIQzlx
- How to Optimize Your PC for Better Performance – https://www.kingston.com/en/blog/pc-performance/how-to-optimize-pc
- [Motherboard/Desktop] How to restore BIOS settings? | Official Support | ASUS Global – https://www.asus.com/support/faq/1030210/